Using XLSGEN.DLL to Attach Excel Output to a CDD Report
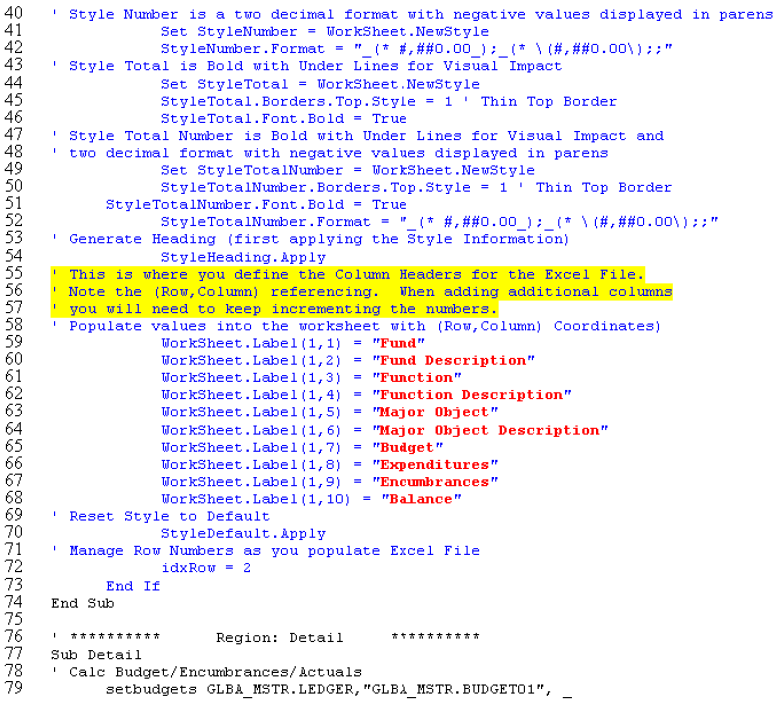
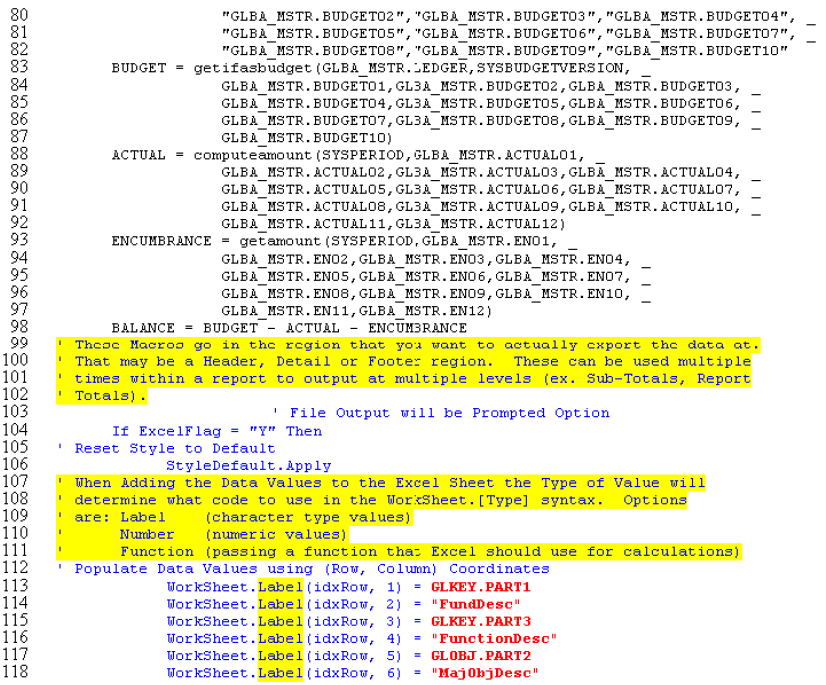
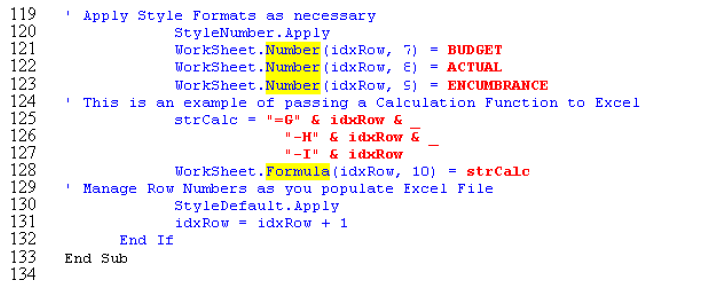
The following lists the macros necessary to enable the attachment of Excel output to 7i CDD reports. All colored macros should be added to the report in the sections shown. The exception is the data output macros (displayed here in the Detail section, they should be placed wherever the data is ready for export. They may also be used more than once within the report if you wish to export multiple levels of data to Excel (Detail, Sub-Totals, Report Totals, etc.).
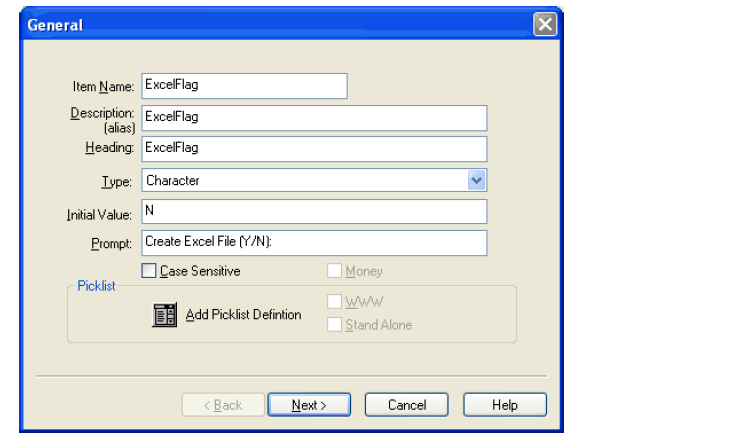
The maroon fields need to be defined as User-Fields. The ExcelFlag is intended to be used as a prompted User-Field (however you can hard code the value as a "Y" value if you wish the report to always create the Excel output). See below for the setup example.
Note: Leave the "Prompt" field Blank to limit to a particular option.
There is also an OutputLbl that needs to be created. It should be a User-Field with Character type and at least 100 characters in size. Place this at the End of Report to display the output location when running the report in CDD.

Installing the XLSGEN DLL
Purchase a license http://www.excelgenerator.com/
Copy the xlsgen.dll file to the products bin directory.
Use the Run command to install the dll.
C:\Progra~1directory~1\Bin\regsvr32.exe xlsgen.dll (where directory is the name of the directory defined by the user at install time)
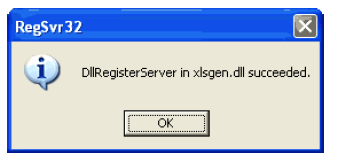
A successful Install will look like this: