
The Catalog Manager is designed to allow you to format tables contained in a System Catalog. The Manager can be opened at any time while working on a report, but it is typically utilized by a system administrator as part of the system catalog formatting process.
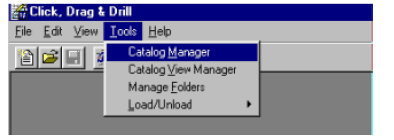
To open the Catalog Manager, select "Tools, Catalog Manager" from the main menu.
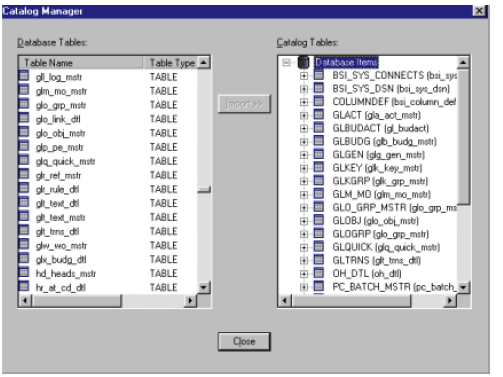
The Catalog Manager window will be displayed.
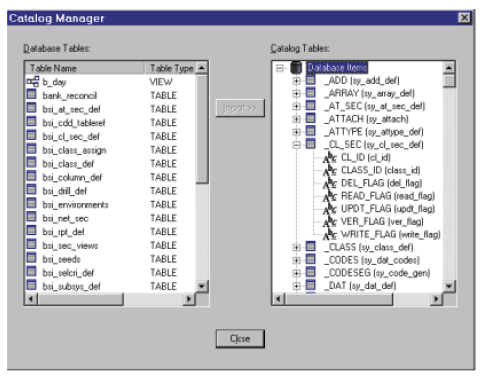
The database tables are listed on the left. On the right is the tree of all tables in the System Catalog, including their columns. The database tables (on the right) can be selected individually or collectively. To select multiple tables, select the first table and then either press the Shift key and click on additional table (to select a set of adjacent tables) or press the Ctrl key and click on multiple tables (to select non-adjacent tables).
When an item is selected the Import button is enabled. The import will attempt to create a Catalog Table using the same characters as the Database table, except that all the characters will be shifted to uppercase.
Catalog Table Properties
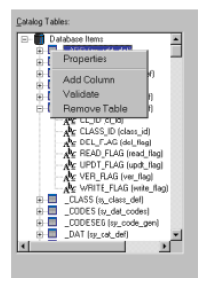
Accessible by right clicking the mouse on the desired item, Properties shows the editable properties of a column.
To view the Catalog Table Properties, select Properties. The Catalog Item Properties window will be displayed.
Catalog Item Properties
General
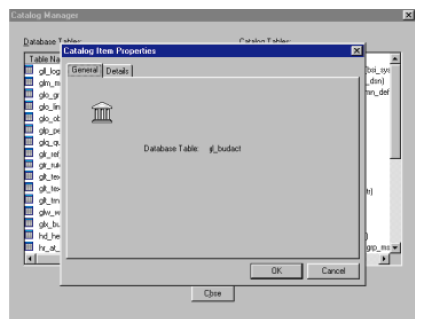
The General tab simply indicates the name of the Database Table to which the catalog table points.
Details
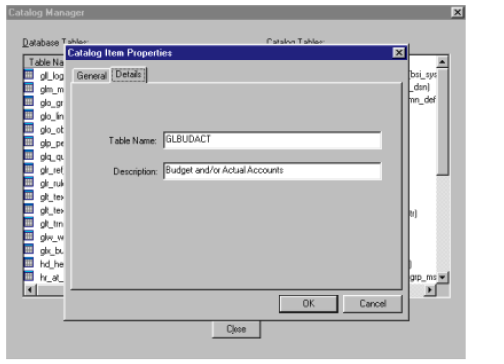
The Details tab allows you to change the name and description of the table to best reflect the contents and use of the table.
The other choices available to you when you right-click on a table include:
-
Add Column which allows you to add a single column to a Catalog Table.
-
Validate which will attempt to determine if any of the columns in the Database are not used in the Catalog table, or if any of the columns in the catalog table are no longer found in the Database table.
-
Remove Table which will remove the table from the System Catalog.
Add Column
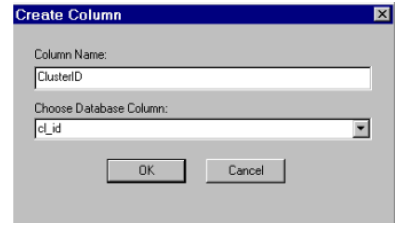
The Column Name becomes the name on the catalog column. The drop-down list labeled "Choose Database Column" shows all of the columns in the database table. You must select one of the items in the list. When one is selected, a default column name is provided by CDD (the Database name will appear in all upper-case characters).
Click OK to add the new column to the table.
Validate
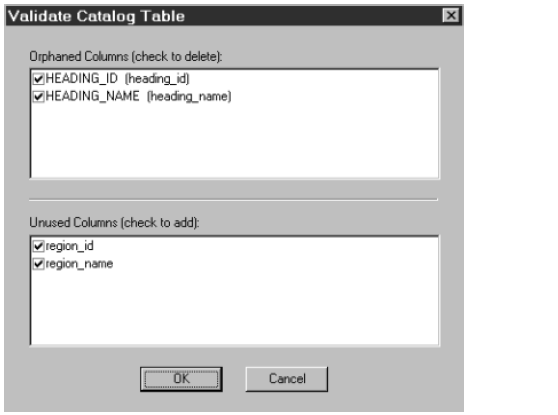
The Orphaned Columns list displays the columns that are used in the Catalog Table that reference columns that do not exist in the Database Table. Check off the columns you wish to remove from the table.
Unused Columns is a list of the columns in the Database Table that are not used in the Catalog table. Check off the columns you wish to add to the table.
Remove Table
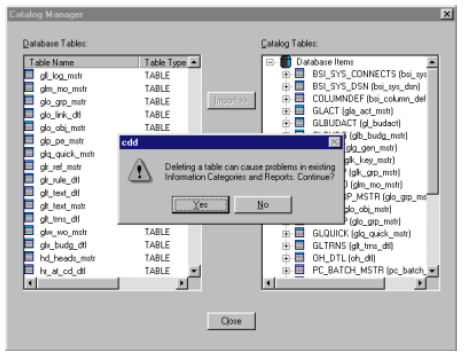
Selecting Remove Table allows you to remove the selected table from the Information Category. Because this can significantly alter the data available through the catalog for your reports, you will be prompted to make sure you want to take this action. Click Yes to remove the selected table.
Customizing Columns
The Catalog Manager allows you to customize the columns of the selected table. Select the column you want to work on. To access Column Properties right click on the desired item.
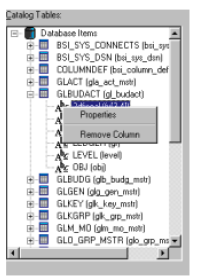
Remove Column will remove the column from the Catalog Table.
Catalog Item Properties
To edit the properties of the column, choose Properties. The Catalog Item Properties window will be displayed.
General
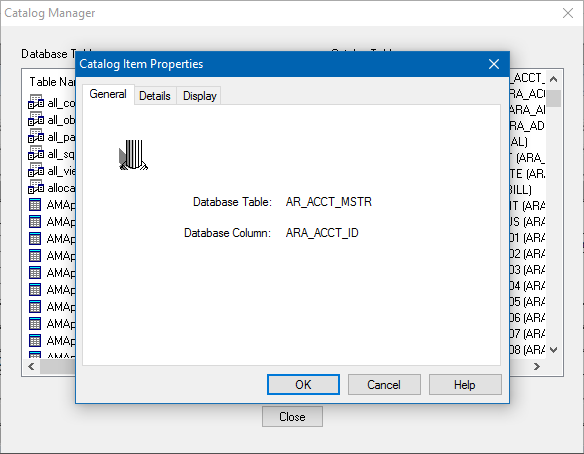
The General tab simply indicates the name of the Database Table to which the catalog table points.
Details
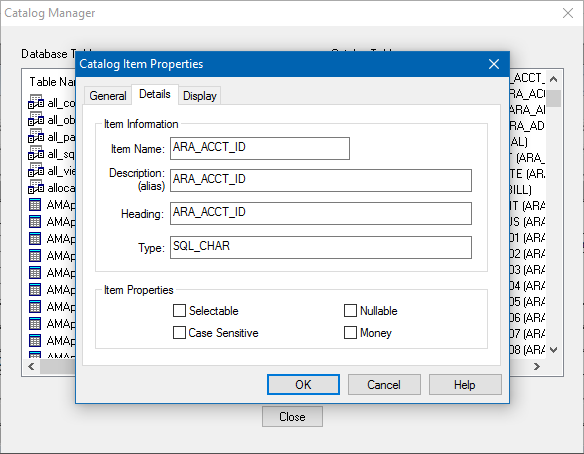
The Details tab allows you to view the Item Name as well as view and change the description. The Item Name field is read-only. The Details tab also displays the heading which indicates the heading title that will be applied when the column is placed on a report design using the report wizard.
The Type field displays the SQL data type of the underlying data and is a read only field.
The Item Properties portion of the Details tab allows you to make decisions about how the column is to be used when the report is run:
-
Selectable indicates whether you can select on this column.
-
Nullable determines whether this column can contain null data.
-
Case Sensitive determines whether the column is case sensitive.
-
Money indicates whether the column contains a monetary value.
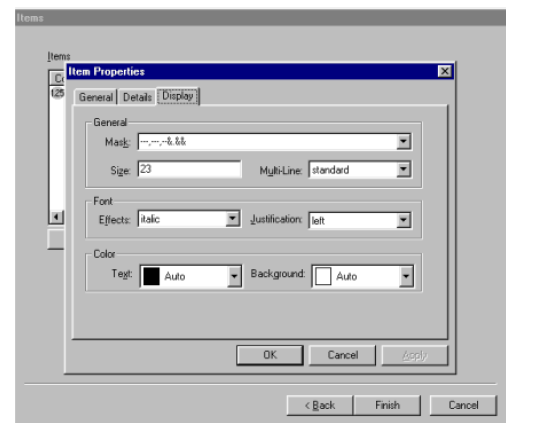
Display
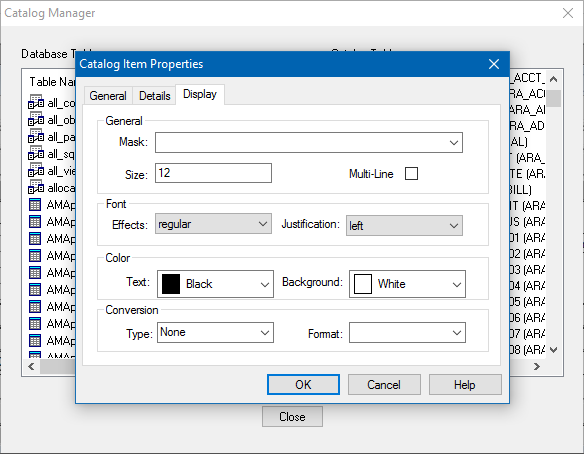
The Display tab allows you to customize the way the data returned from the column is displayed in the final report:
-
Mask allows you to apply an edit mask.
-
Size indicates the point size to be used for this item when the report is run.
-
Multi-line determines whether the item can contain more than one line of data.
-
Effects allows you to apply font effects such as bold and italics to the item when the report is run.
-
Justification determines whether the data is to be right, left, or center justified when the report is run.
-
Text Color allows you to change the color of the text. Likewise, Background allows you to change the color of the text background.
Once the Catalog Tables and Columns have been adjusted, click Close to return to the main CDD window.
Catalog View Manager
The Catalog View Manager allows you to create unique tables which contain SQL statements that pull data from multiple tables and can then be used as Information Categories when creating new reports. Catalog Views can be created to perform many of the same operations as
Macros.
To access the Catalog View Manager, select "Tools, Catalog View Manager" from the main menu. The Catalog View Manager window will be displayed.
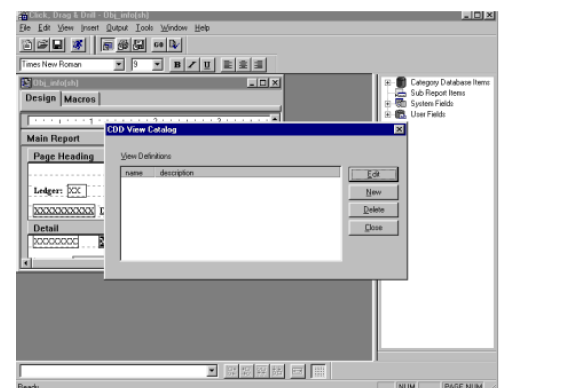
To create a new CDD View, click New. The General window of the Create View Catalog process will be displayed.
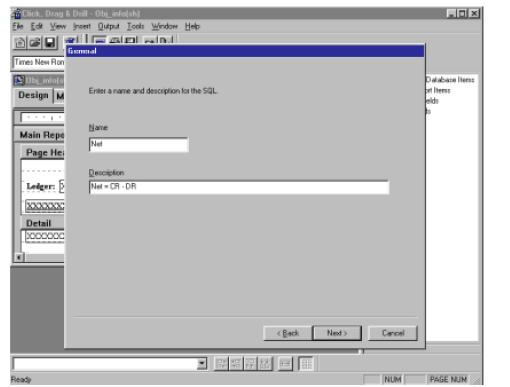
In the General window, assign a name and description to the View you are creating. Once you have entered this information, click Next. The SQL window will be displayed.
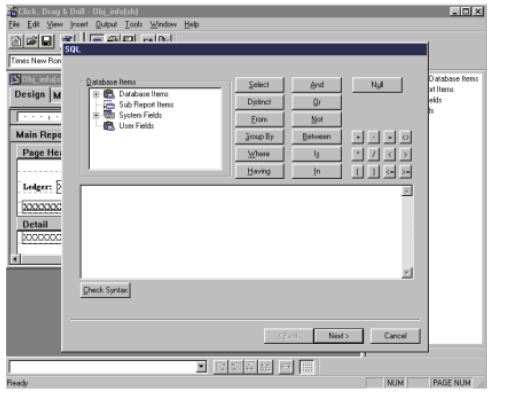
The SQL window allows you to write an SQL statement directing the system to retrieve specific data from a selected table or tables. For example, if for budgeting purposes you wanted to select the net of credits minus debits from a particular budget table, the SQL statement you would create might appear as follows:
select glt_cr - glt_dr net from glt_trns_dtl
This statement directs the system to let "net" be the result of the General Ledger Credit value minus the General Ledger Debit value and instructs that this data is to be retrieved from the glt_trns_dtl table.
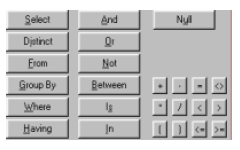
The SQL window allows you to enter this information by either typing the entire statement or by using a combination of typing and selecting the SQL statement keys.
After entering the SQL statement…

Click the Check Syntax button. The system will check the statement to be sure that it conforms to SQL syntax requirement. If there are errors in the statement the system will display these in the Database Error message window. If the syntax of your statement is correct, click Next. The Items window will be displayed.
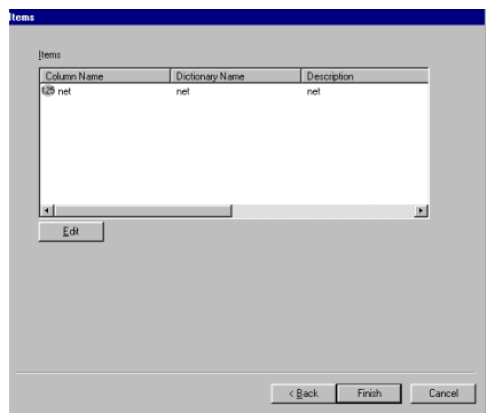
Items Window
The Items window allows you to check the columns which will be returned based on the view you are creating. To edit the column, click Edit. The Item Properties window will be displayed.
Item Properties
General
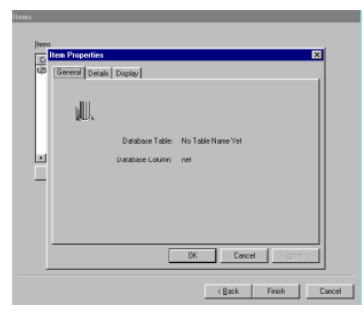
The General tab simply indicates the name of the Database Table to which the catalog table points.
Details
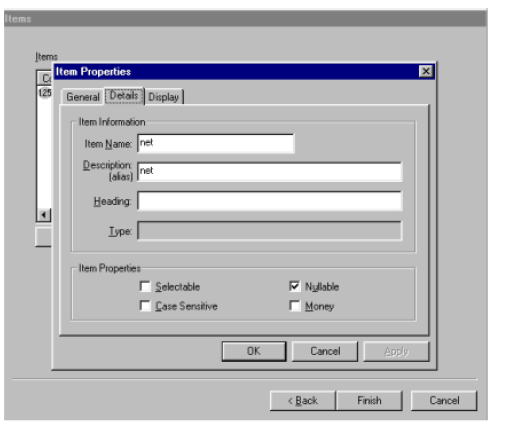
The Details tab allows you to view and change the Item Name and Description. It also displays the Heading which indicates the heading title that will be applied when the column is placed on a report design using the report wizard.
The Type field displays the SQL data type of the underlying data and is a read only field.
The Item Properties portion of the Details tab allows you to make decisions about how the column is to be used when the report is run:
-
Selectable indicates whether you can select on this column.
-
Nullable determines whether this column can contain null data.
-
Case Sensitive determines whether the column is case sensitive.
-
Money indicates whether the column contains a monetary value.
Display
The Display tab allows you to customize the way the data returned from the column is displayed in the final report:
-
Mask allows you to apply an edit mask.
-
Size indicates the point size to be used for this item when the report is run.
-
Multi-line determines whether the item can contain more than one line of data.
-
Effects allows you to apply font effects such as bold and italics to the item when the report is run.
-
Justification determines whether the data is to be right, left, or center justified when the report is run.
-
Text Color allows you to change the color of the text. Likewise, Background allows you to change the color of the text background.
Once you have edited the new view, click Finish to return to the main CDD window. This view will be displayed the next time you select Tools > Catalog View Manager.
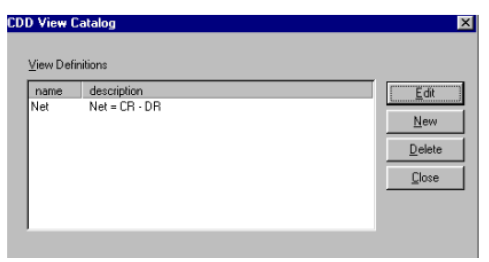
This view can then be edited, or deleted, by selecting it and then clicking on the appropriate buttons.