Contract Stops
Early Contract Stop - Spreading Escrow Forward over the Life of the Original Contract Dates.
Note: Screenshots are included on this page for illustration. Field locations that were changed in BusinessPlus 19.6 are marked by [ and ] brackets.
- Bring up the contract you wish to end early.
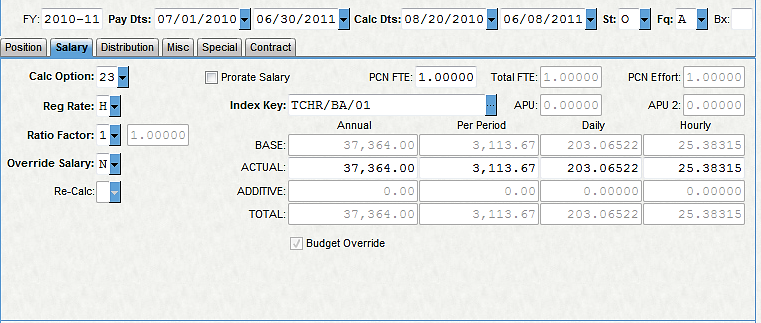
- Verify your current contract information on the Contract tab.
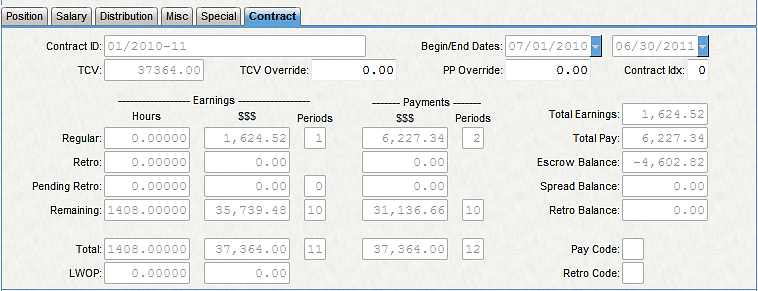
- [On the Miscellaneous tab] for the current Contract ID, select "PS" for the Payout Tp.
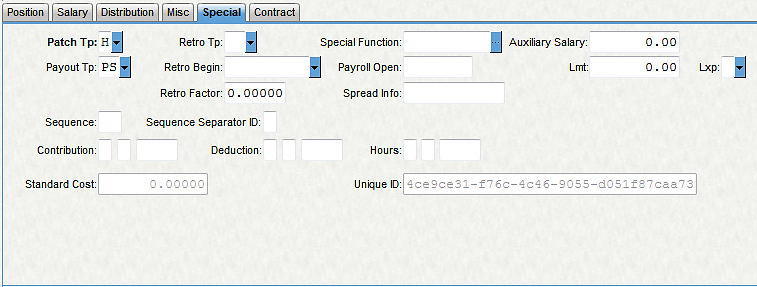
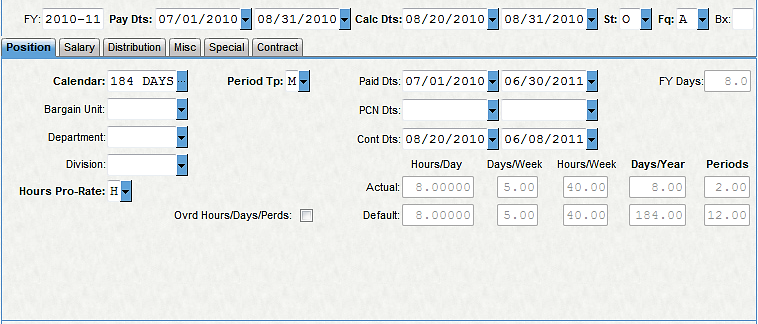
- [On the Pay Assignment tab], copy the existing Pay Begin and End dates to the Paid Begin and End dates.
[On the Miscellaneous tab], copy the existing Calc Begin and End dates to the Cont Begin and End dates.
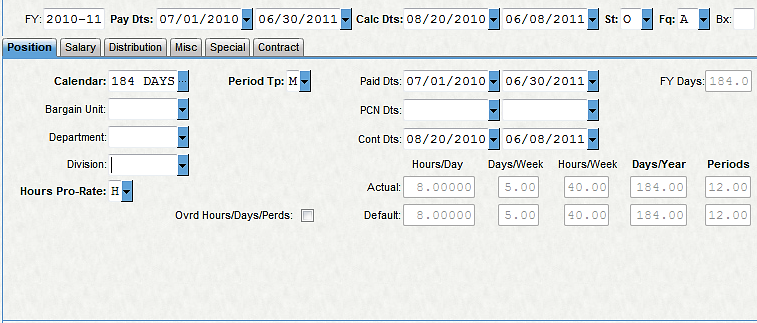
- [On the Pay Assignment tab], change the existing Pay and Calc begin and end dates to reflect the appropriate ending dates of this contract. The Pay End date corresponds with pay period dates. The Calc End date represents the actual last working day on this contract.
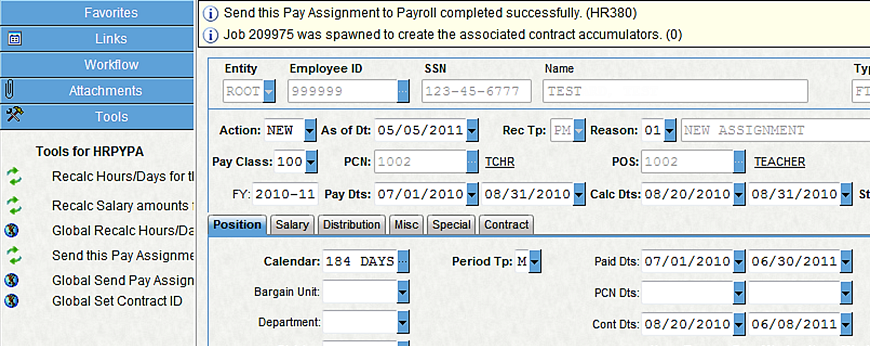
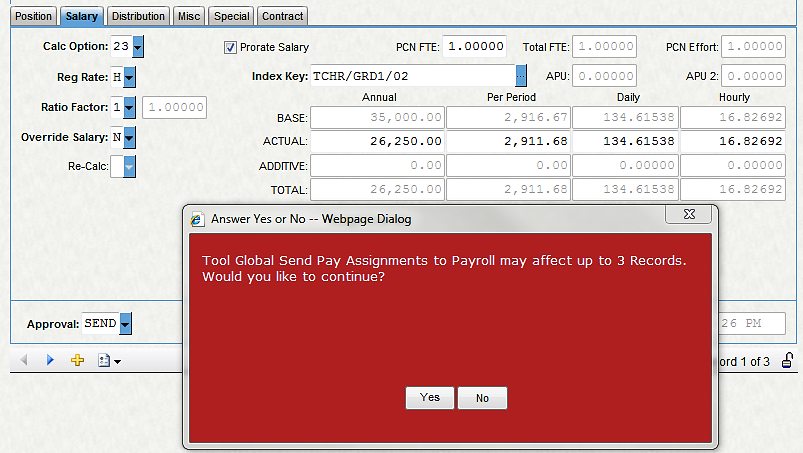
- Send the pay assignment to Payroll using the "Global Send Assignments and Update Contract" tool.
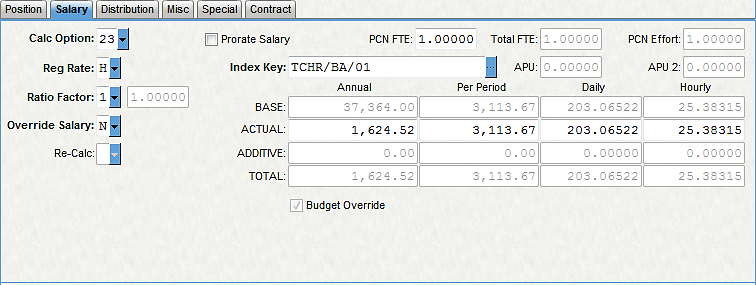
- Notice that the Actual Annual has been updated to reflect the new Total Contract Value (TCV) based on the shortened number of days worked. The per-period pay did not change.
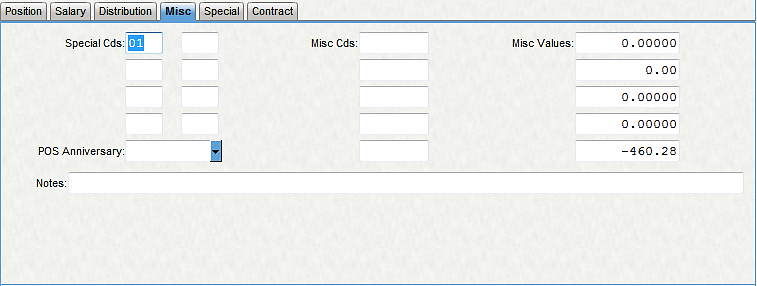
- [On the Miscellaneous tab], the escrow amount to be spread over the Paid Begin and End dates is shown in Misc Value 5.
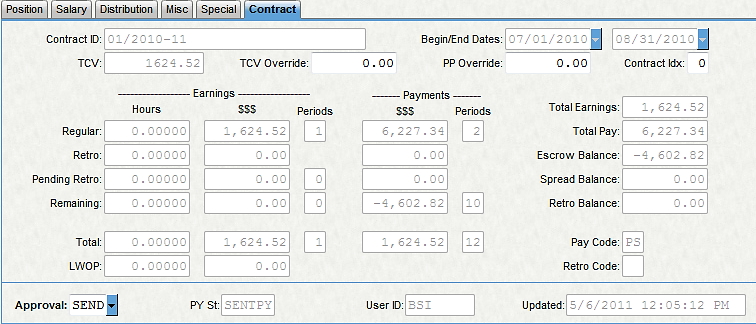
- On the Contract tab, the contract has been updated to reflect the new information.
Early Contract Stop - Payoff Contract Escrow
- Bring up the contract you wish to end early.

- Verify your current contract information on the Contract tab.

- [On the Miscellaneous tab] for the current Contract ID, select "PF" for the Payout Tp.
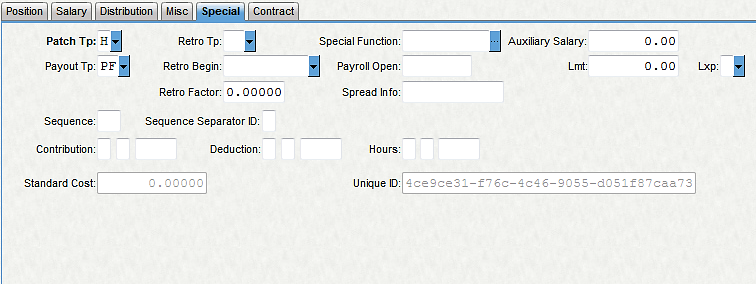
- [On the Pay Assignment tab], copy the existing Pay Begin and End dates to the Paid Begin and End dates.
[On the Miscellaneous tab], copy the existing Calc Begin and End dates to the Cont Begin and End dates.

- Change the existing Pay and Calc Begin and End dates to reflect the appropriate ending dates of this contract. The Pay End date corresponds with pay period dates, and the Calc End date represents the actual last working day on this contract.

- Send the pay assignment to Payroll using the "Global Send Assignments and Update Contract" tool.
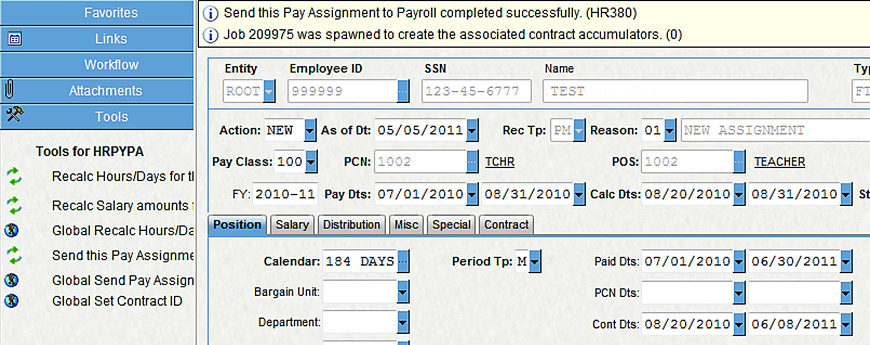
- Notice that the Actual Annual has been updated to reflect the new Total Contract Value (TCV) based on the shortened number of days worked. The per-period pay did not change.

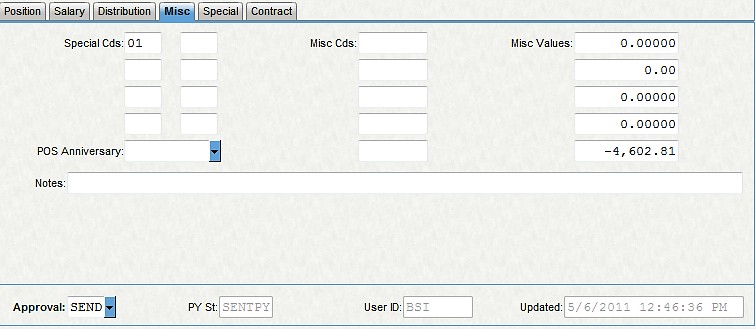
- [On the Miscellaneous tab], the escrow amount to be paid off is shown in Misc Value 5.
- On the Contract tab, the contract has been updated to reflect the new information.
Back Out a Contract Entirely
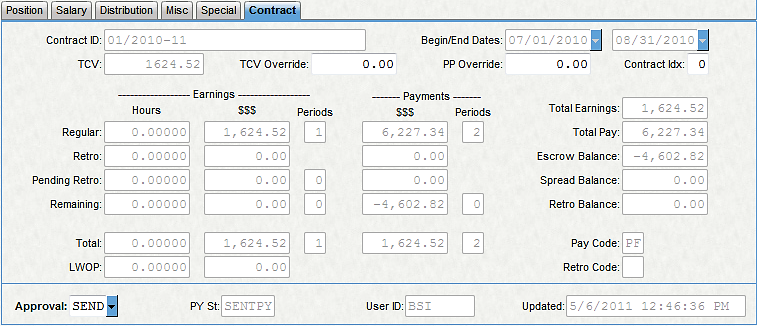
- Bring up the pay assignment you wish to back out. Verify the Contract tab.
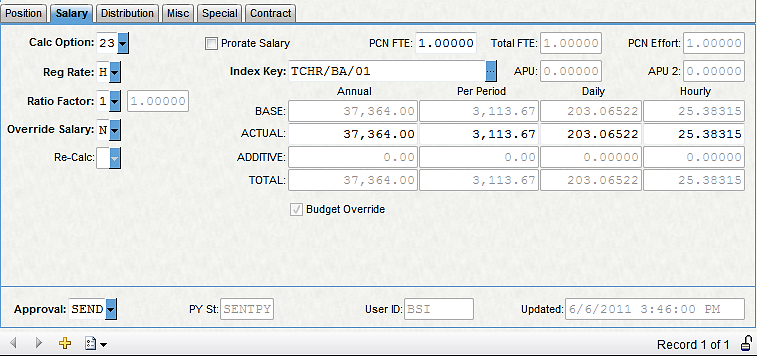
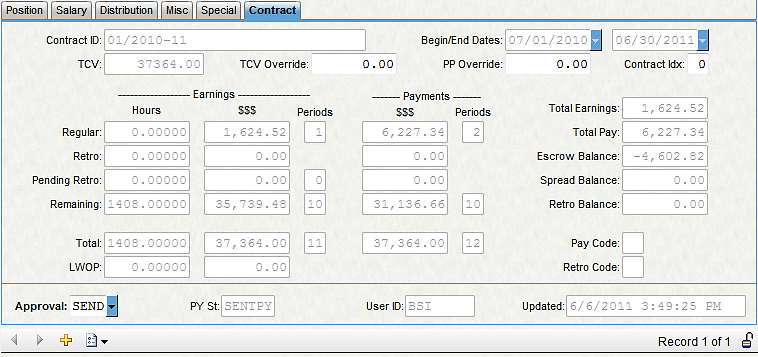
- [On the Wages tab], set the Override Salary field to a "Y" and the Actual amounts to 0's. It is recommended (though not required) to end-date both the Pay dates and Calc dates in the last period this pay assignment will be processed.
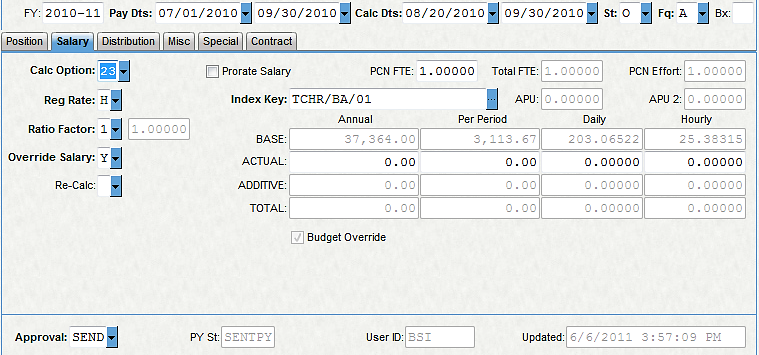
- Set the "Ovrd Hours/Days/Perds" field to a "Y" and the "Actual Hours/Day" amount to 0.
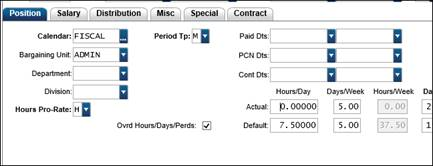
- Save the record and send the pay assignment to Payroll using the "Global Send Assignments and Update Contract" tool.
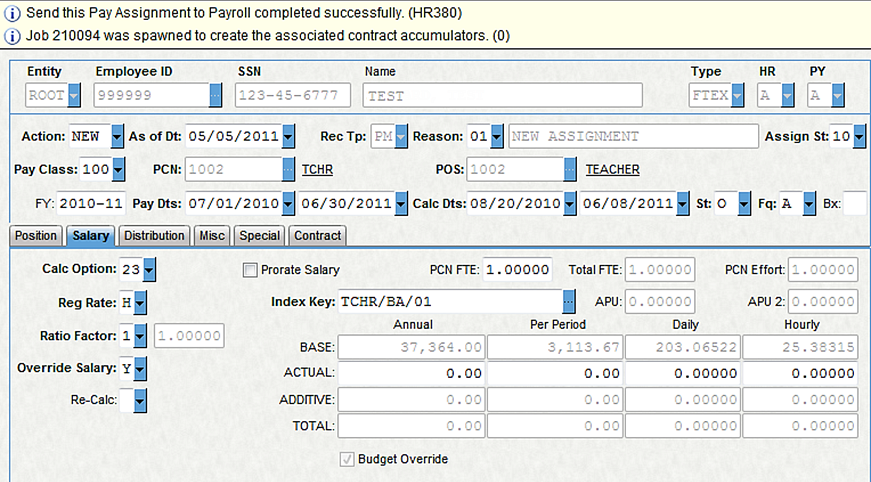
- Run the Retro utility (PYUTRTRP) to pick up retro earnings and payments. In this case, both amounts will be negative since we are reducing the contract to 0.
Long Term LWOP
Note: Long Term LWOP essentially pauses the contract by putting no earn days on the calendar and overrides the per period paid to zero (or whatever is desired). Short-term LWOP is handled through timecards (no stop and start on the contract itself).
- Bring up the pay assignment that will be going on Long Term LWOP.
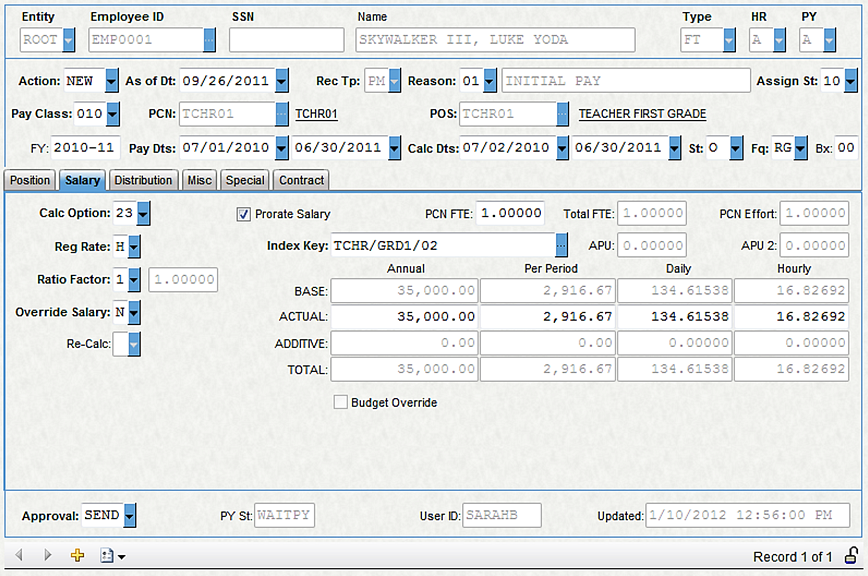
- [On the Pay Assignment tab], click the + to add a new pay assignment.
- Select the same Rec Tp as the pay assignment you are selecting for change. This will copy all of the information forward from the old record.
- In the Reason field, enter in the reason code for this pay assignment.
- The Pay and Calc begin dates must be set to the first day of the first pay period the employee will receive no pay.
- [On the Miscellaneous sub-tab], enter a date in the "As of Dt" field that falls within the Pay Dates of the original pay assignment. The As of Date will default to today's date.
- [On the Wages sub-tab], use a zero paid day calendar (e.g., "LWOP").
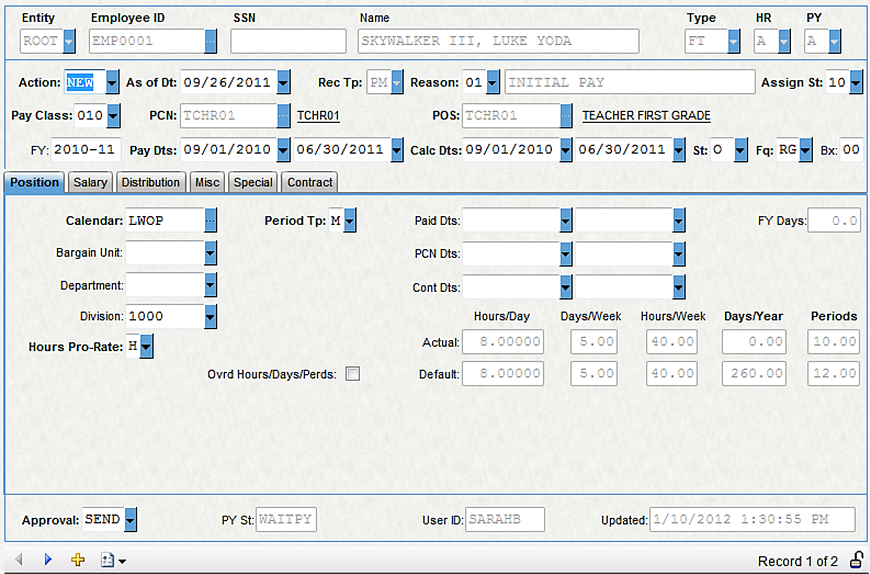
- [On the Wages sub-tab], set "Override Salary" field to "Y" and override the Per Period, Daily rate and Hourly rate.
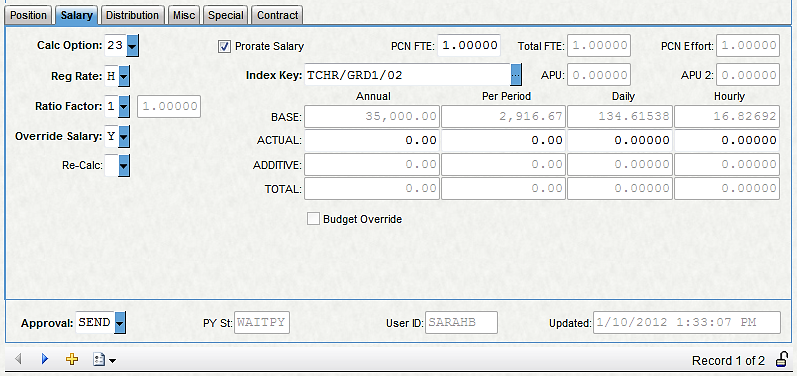
- Send the pay assignments to Payroll by selecting the tool called "Global Send Assignments and Update Contracts."
- Select "Yes" when asked if you want to send both records.
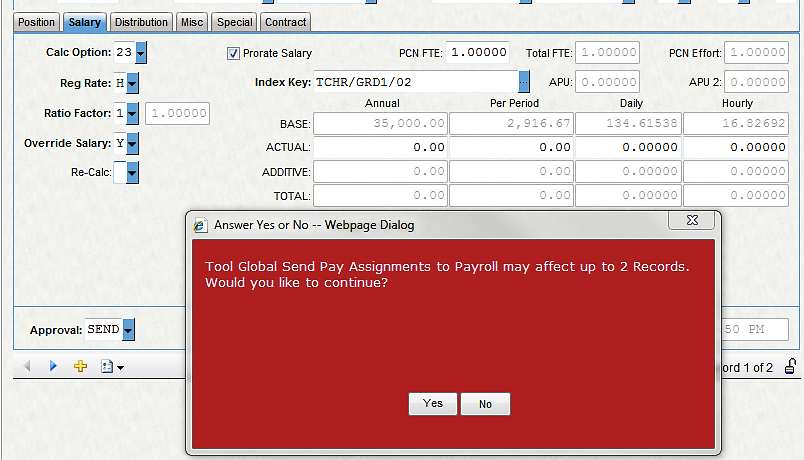
- Upon return of the employee, bring up the LWOP assignment and click the + to add a new pay assignment.
- [On the Miscellaneous sub-tab], enter a date in the "As of Dt" field that falls within the pay dates of the original pay assignment. The As of Date will default to today's date.
- [On the Pay Assignment tab], select the same Rec Tp as the pay assignment you are selecting for change. This will copy all of the information forward from the old record.
- In the Reason field, enter the reason code for this pay assignment.
- The Pay and Calc End dates must be set to the period end date of the last pay period the employee should receive no pay.
- [On the Wages sub-tab], revert to the original calendar on the contract.
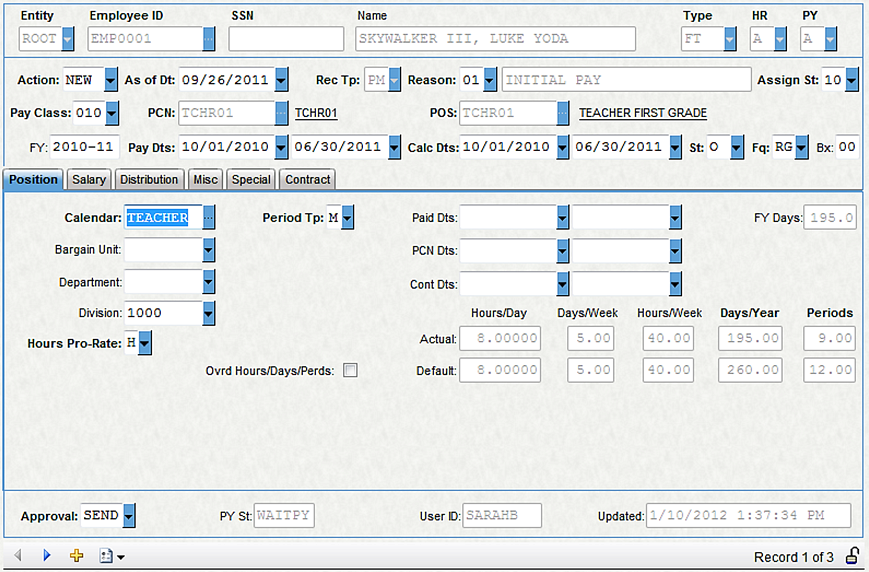
- Allow the Salary line to calculate by setting the Override Salary flag to "N."
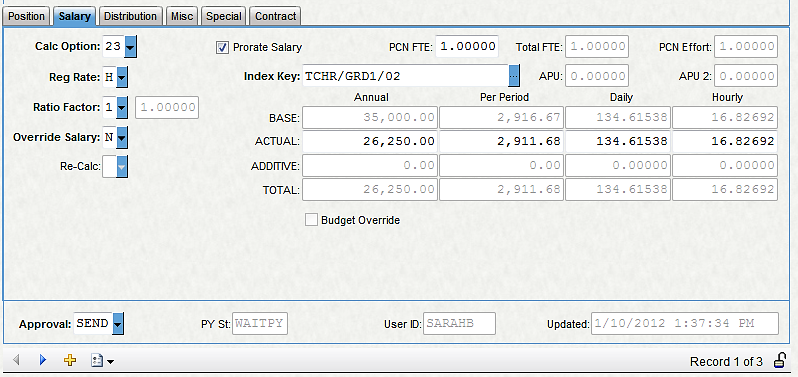
- Send the pay assignments to Payroll by selecting the tool called "Global Send Assignments and Update Contracts."
- Select "Yes" when asked if you want to send both records.
Contract Stops
